
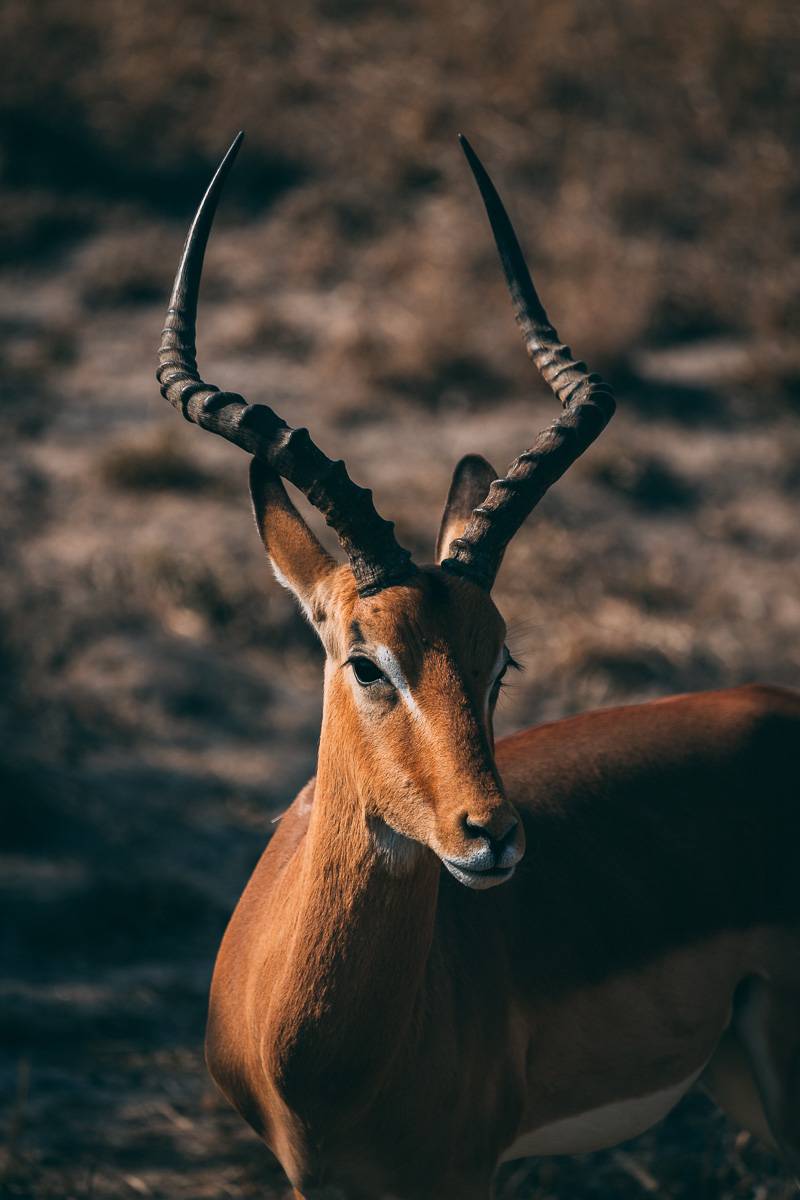
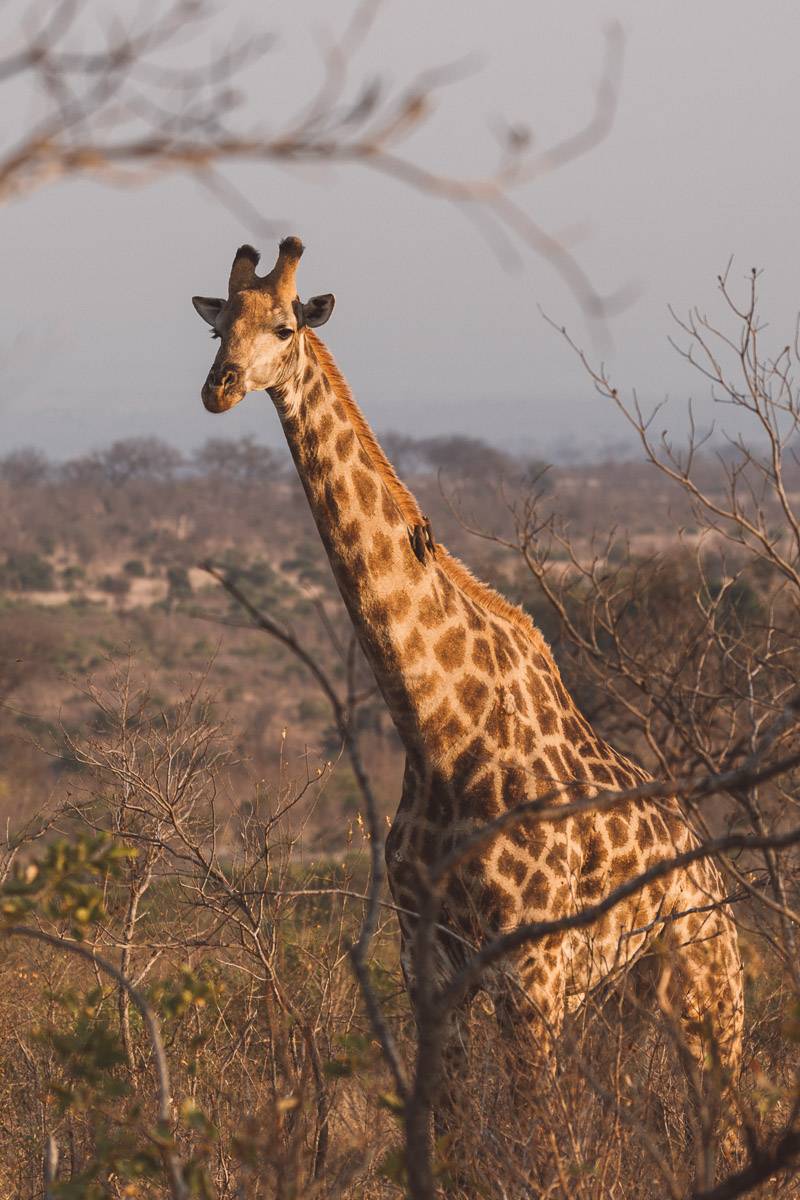
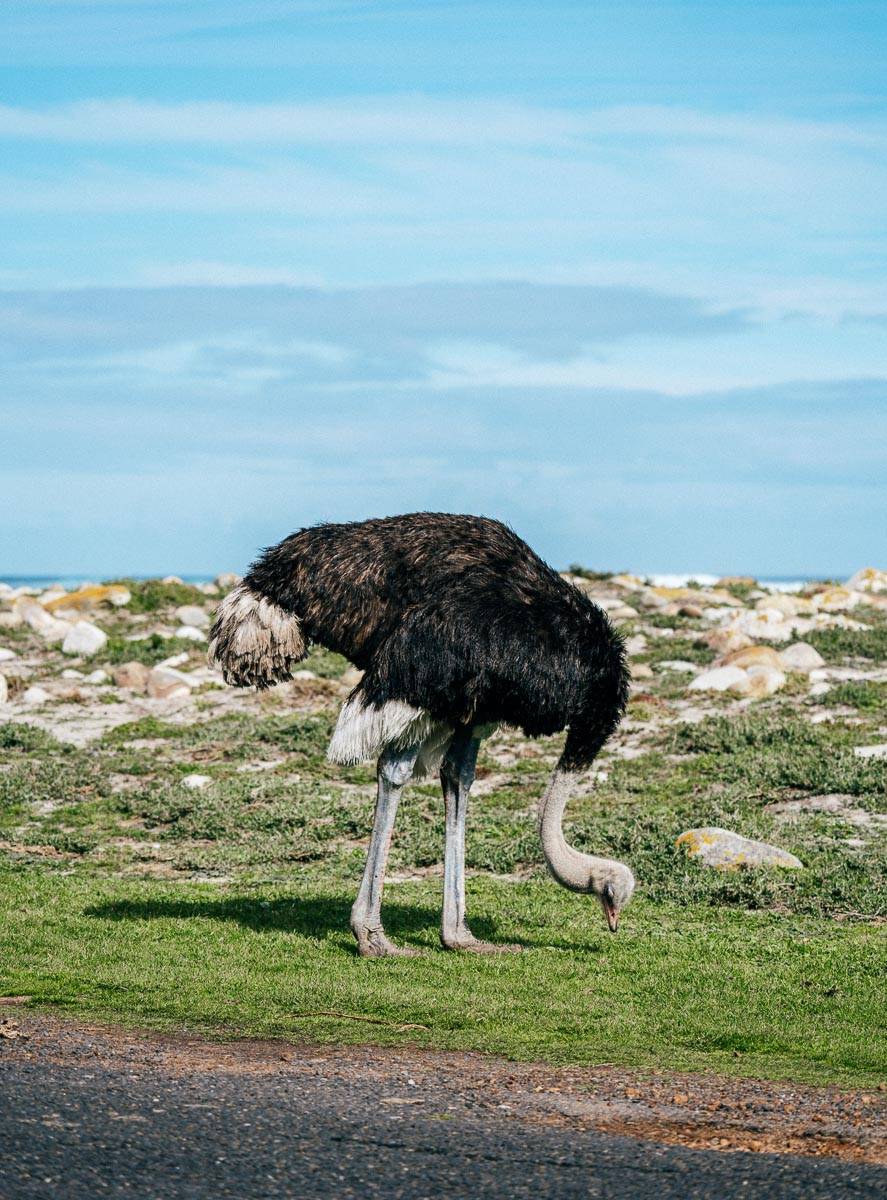
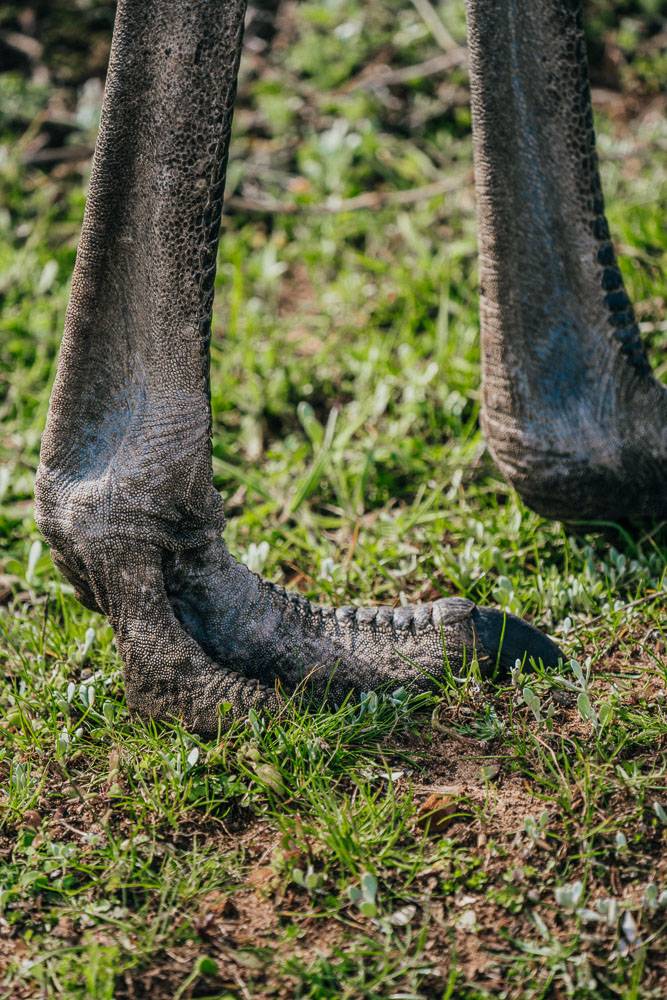
Animals are remarkable subjects for observation, which is what makes shooting wildlife photography for exhilarating. There’s a lot of variety within the animal kingdom and it gives photographers many opportunities to capture incredible moments. I spent a week in South Africa and Zimbabwe on a project with Lonely Planet and G Adventures, photographing the enormous and minuscule models of the savannah. This post will be useful for beginner and intermediate camera owners who want to learn how to shoot wildlife photography with any camera.
I’ll be unzipping my camera bag and explaining the gear, camera settings and editing software I used, how to be discreet on location along with lighting techniques and how to frame your shots. I used a mirrorless camera to capture the images you’ll see in this post, although most of the techniques I’ll be explaining can be applied to DSLRs, point-and-shoot cameras, cellphones and infamous tablet “photographers.”
“The animal kingdom offers an infinite variety of artistic photos; bursting with brightly coloured feathers, rich textures and distinctive patterns.”

Gear I Used to Photograph Wildlife in Africa:
Main Camera Body:
Camera Lenses:
Long Lens – Sony 100-400mm f4.5
Standard Lens – Sony 24-70mm f2.8 G Master
Secondary Cameras:
Other:
SD Card – 128GB Sandisk Extreme [Class 10] U3
Tripod – Manfrotto BeFree Live
Computer – Macbook Pro 13” Retina Display
Photo Editing Software – Adobe Lightroom

“The camera doesn’t make the photographer. Don’t upgrade until you are better than your camera.”
Let me explain…
Shooting wildlife photography can be done well with practically any camera. You don’t even need the best lens for wildlife photography, just think about someone with very little photography experience. They won’t take good pictures on a $5,000 camera, because with education, you’ll never be able to truly utilize the equipment. Someone unwilling to learn and with little experience using professional cameras to shoot wildlife photography might as well stick with a cellphone or point-and-shoot. Before you purchase expensive gear, ensure you understand camera basics first. This includes how to manually adjust your aperture, shutter speed, and ISO. These three camera settings are the foundation of 100% of your photos. Some cellphones nowadays have these camera settings built-in. I use the Samsung Galaxy Note 8 & 9 with manual photo settings and the ability to shoot in RAW. And if your camera has the ability to change lenses, I recommend getting at least a 200mm, so you can “get up close” to your subjects without physically getting close. You can even get interchangeable lenses for your cellphone these days.
For my Sony A7R III, I picked up a 100-400 f4 from B&H Photo, and it’s perfect for shooting wildlife photography. If you don’t have a zoom lens, then set your picture to the highest quality possible so you have options to magnify in editing. Don’t use digital zoom on your camera, this only causes a loss in quality.
Sony Camera Image Settings:
Format: RAW (Uncompressed)
42 Megapixels
Aspect Ratio: 3:2
Color Space: sRGB
Shooting Mode: Burst Photo
Being Discreet When Shooting Wildlife Photography
Properly shooting wildlife photography requires the art of stealth. Animals are easily startled and will flee if they see a threat. Typically they have excellent hearing and sense of smell; which you can use to your own advantage. Standing down-wind from your subject will ensure they can’t sniff you out. The shutter-click of a camera is enough to send your model to the hills so if you’re using a cellphone or tablet, set your sound to OFF. The Sony A7 series has a “silent shooting” mode, so you can snap away undetected. Larger DSLRs won’t have the silent shooting option so wrapping your camera body in a cloth will reduce the shutter noise.
Staying in your safari vehicle is another way to stay discreet when shooting wildlife photography. While in Kruger National Park we spotted the BIG 5 animals and to our surprise, they were not disturbed at all by vehicles. Our guide explained that the animals know vehicles are not predators due to their shape and smell. However, if a passenger stepped out of the vehicle, the human shape and scent would activate their fight or flight instinct.
“If you are photographing animals on foot, ensure you aren’t wearing brightly coloured clothing so you blend into your surroundings.”

Lighting Your Shot
All of photography is the art of capturing light reflecting off a subject. Since we are focusing on animal photography, most likely you are using daylight. If you’ve ever seen a time-lapse video, you understand how drastic a scene changes as the sunlight moves. The term “Golden Hour” refers to the golden lighting appearing at sunrise and sunset, getting those colourful creamy shots to show off. Shooting during midday generally produces “flat” images having shadows directly below the subject. Going out on cloudy days results in a smooth evenly lit subject without shadows (if that’s what you’re going for). Next time it’s a cloudy day, look for your shadow. Chances are it’s no where to be found or very difficult to spot. Some photographers prefer the no shadow look while others want those defined lit and dark areas on their subjects. Ensure you have your camera white balance settings set according to your light source (most likely daylight) to produce colours as your eye sees them (unless you’re colour blind).
Camera Settings for Shooting Wildlife Photography
Animal photography tests your camera skills to the eleventh degree no matter what you’re shooting with. Cellphones these days have remarkable quality and give you the ability to shoot in manual and raw format, which is incredible! I’ve used my Samsung Note 8 & 9 for dozens of images and the quality is remarkable. Now grab your camera, flip that mode into manual and play with the ISO, shutter speed and aperture. This is when you start having fun with your photography. Fast moving animals require a high shutter speed, dark lit animals would need higher ISO and still animals (ie. a turtle) you could get away with a longer exposure.
“Capturing the wings of a hummingbird requires drastically different camera settings to that of a sleeping rhino.”
I always shoot in RAW format to capture more detail in the dark and light sections of my images. This gives me the ability to adjust those details in editing. If your camera doesn’t have RAW format, stick to jpeg with the highest megapixel and quality possible. The larger your image, the more you can magnify in editing and maintain quality.

Editing Software
Most of my images are edited using Adobe Lightroom, it’s really the industry standard for image editing. I don’t recommend using Photoshop, even though I used this for years and didn’t want to transition. Once I did, a whole new world of editing opened up to my photos. The best tool is by far the ability to create presets and apply them to all your images with a click. This can save hours of work and makes your photo collection look bangarang! I have also used an app on my phone called Snapseed to edit photos. It’s free and very easy to use. I recommend this for any beginner photographers or those editing on the go.
21 Comments
Photography is my favorite hobby and But i am just a real estate photographer.I have never been to the forest shot pictures like this because it is a dangerous process.
Wonderful photography, Its really amazing website. Thanks
Thanks for the informative post. This post helped me to learn some new things about the video camera. Keep posting. Please let me know for the upcoming posts.
This isn’t a question about your photography (which is amazing), but about your shop. Do you have your own company that does the prints for you, or do you partner with a company? I think it’s a great idea and would love to know more about it.
Thanks for sharing the post. The way you narrated the post is good and understandable. After reading this post I learned some new things about wilfd life photography. Keep posting. Please let me know for the upcoming posts.
Great list of Cameras, But My Favourite is Nikon !
When you get into wildlife photography, just remember that it takes years to master, but you’ll never stop learning from it. If you keep at it, your hard work will eventually pay off. This hobby doesn’t just make you a better photographer, it will also help you develop a real passion for nature.
-Steve
Amazing Photoshoots. You are so amazing, I have no words to describe you” I think photography in your blood. Your Shoots of wildlife are amazing and beyond the Compliment.
I have learned huge knowledge from here. I am waiting for your updates
Great article! Thanks for your tips!
Fantastic post and video!! Great info with useful tips. Your images are beautiful! You explain this all so well! One of the best I’ve seen!! I finally was able to take a few lessons 2 weeks ago which really helped because my Sony A7SII was just sitting in my closet because I was so overwhelmed with learning it, and my Sony RX100V that I won from you guys (THANK YOU so much!) last Dec was just on auto. Broke my arm pretty bad in March so it’s taking me a while to get my act together. Anyway, LOVED your explanation on things here. Look forward to more. If you can explain white balance more at some time, that would be great! Thank you!
Nice Blog! the tips are really very useful. The pics you clicked are awesome. keep sharing.
This is very useful tips. What lens would you recommend for wildlife photography at a resonable price?
The camera doesn’t make the photographer. Don’t upgrade until you are better than your camera loved these line
most of us generally complain about camera learning it.
The images you have posted is good and i think you photography skill are awesome.
Wildlife photography is awesome. It brings you close to the nature. You can feel the beauty of different animals and forest trees. Very Nice Blog! Thanks for sharing.
Nice article full of basic facts!
I personally love the silence of the cellphone photography and wonder why it is so difficult to make them silent dslr cameras.
oh thanks! that’s exactly what i was looking for 🙂
Hey, Siya1 I totally agree, work on your photography skills first before investing in expensive gadgets and having one good camera would not make you a good photographer 😉 I know because I thought I’d be one (great photographer) after I invested in a very expensive camera. I ended up, going back to basic. Now, I just love taking photos of our dogs 🙂
This is a very interesting post. Thanks for sharing. Cheers!
Could not agree more! Nikon, Cannon.. either one has so much more capabilities than a phone camera. While I love my phone camera for some things, it can never replace my DSLR
Amazing view. I really like your post. Thank you so much for share your useful post.
Follow on Instagram